Set up your Solar Monitor.
Follow this step-by-step guide to plug Solar Monitor into your gateway, configure your local network, and start tracking your solar generation.
Not sure if your gateway is supported? Check compatibility first.
Before You Begin
What you’ll need
- Your Solar Monitor kit
- Your home Wi-Fi name and password
- A phone, tablet, or laptop
- A flathead screwdriver
Step 01
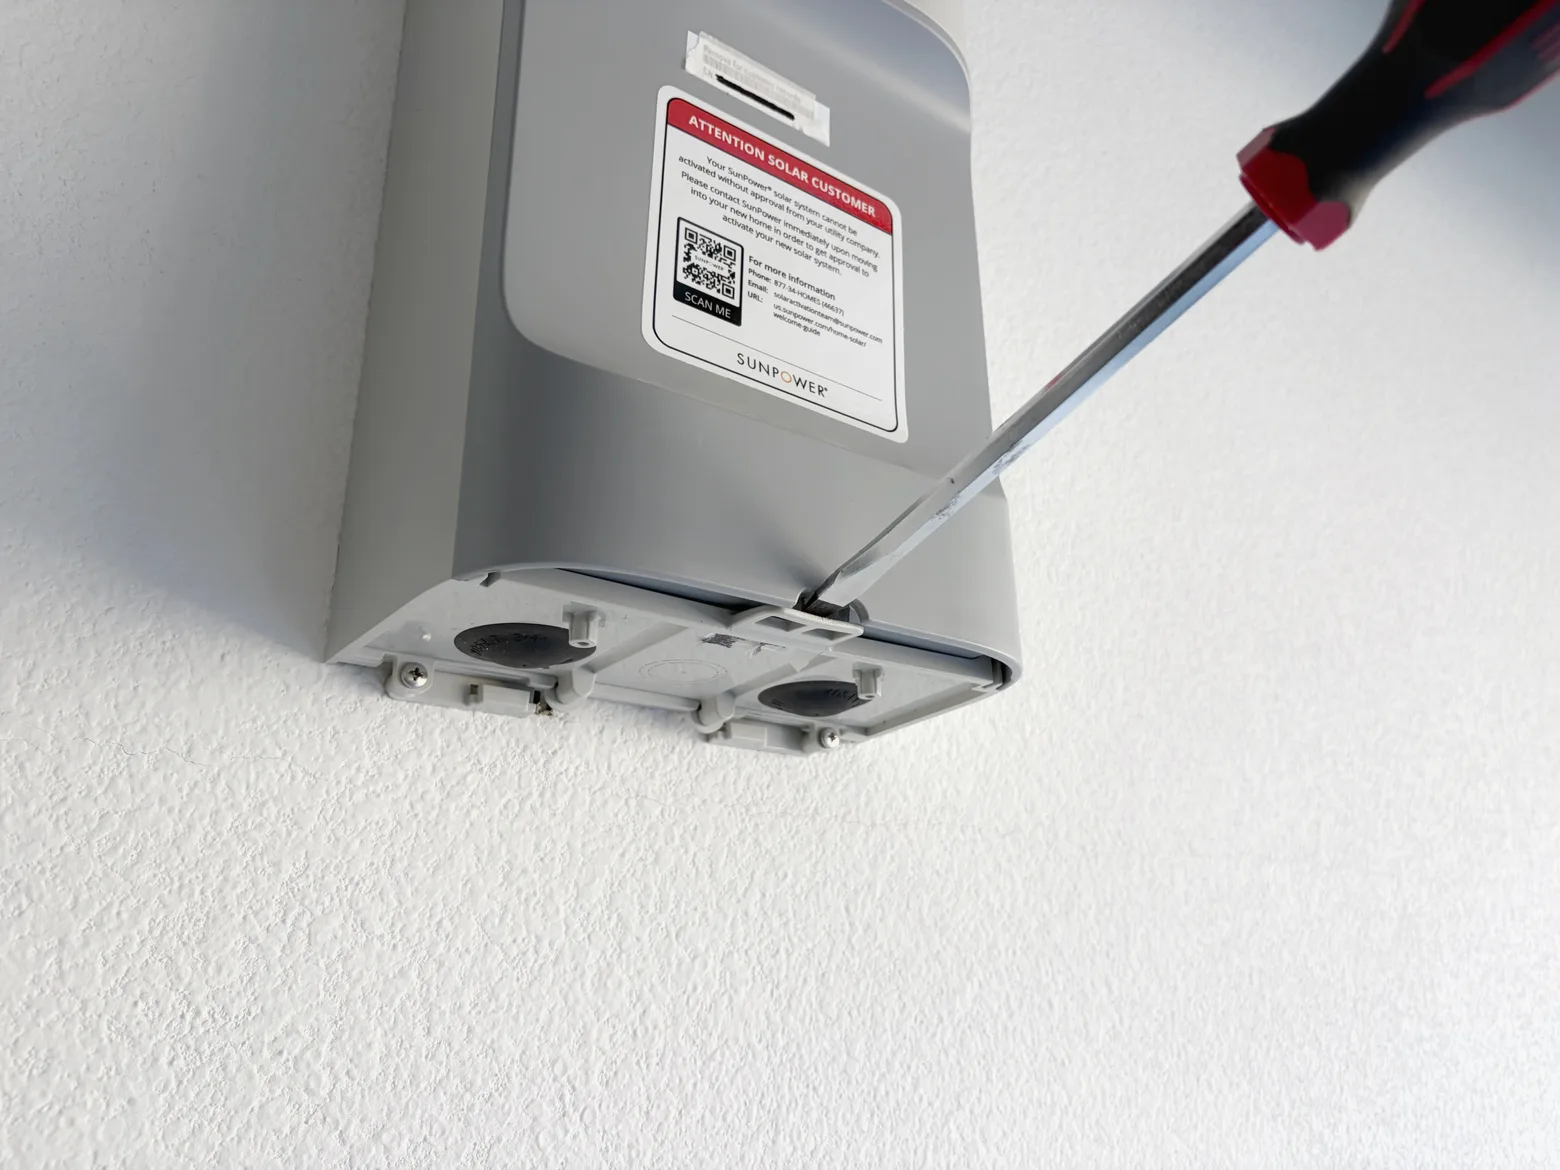
Open the PVS enclosure
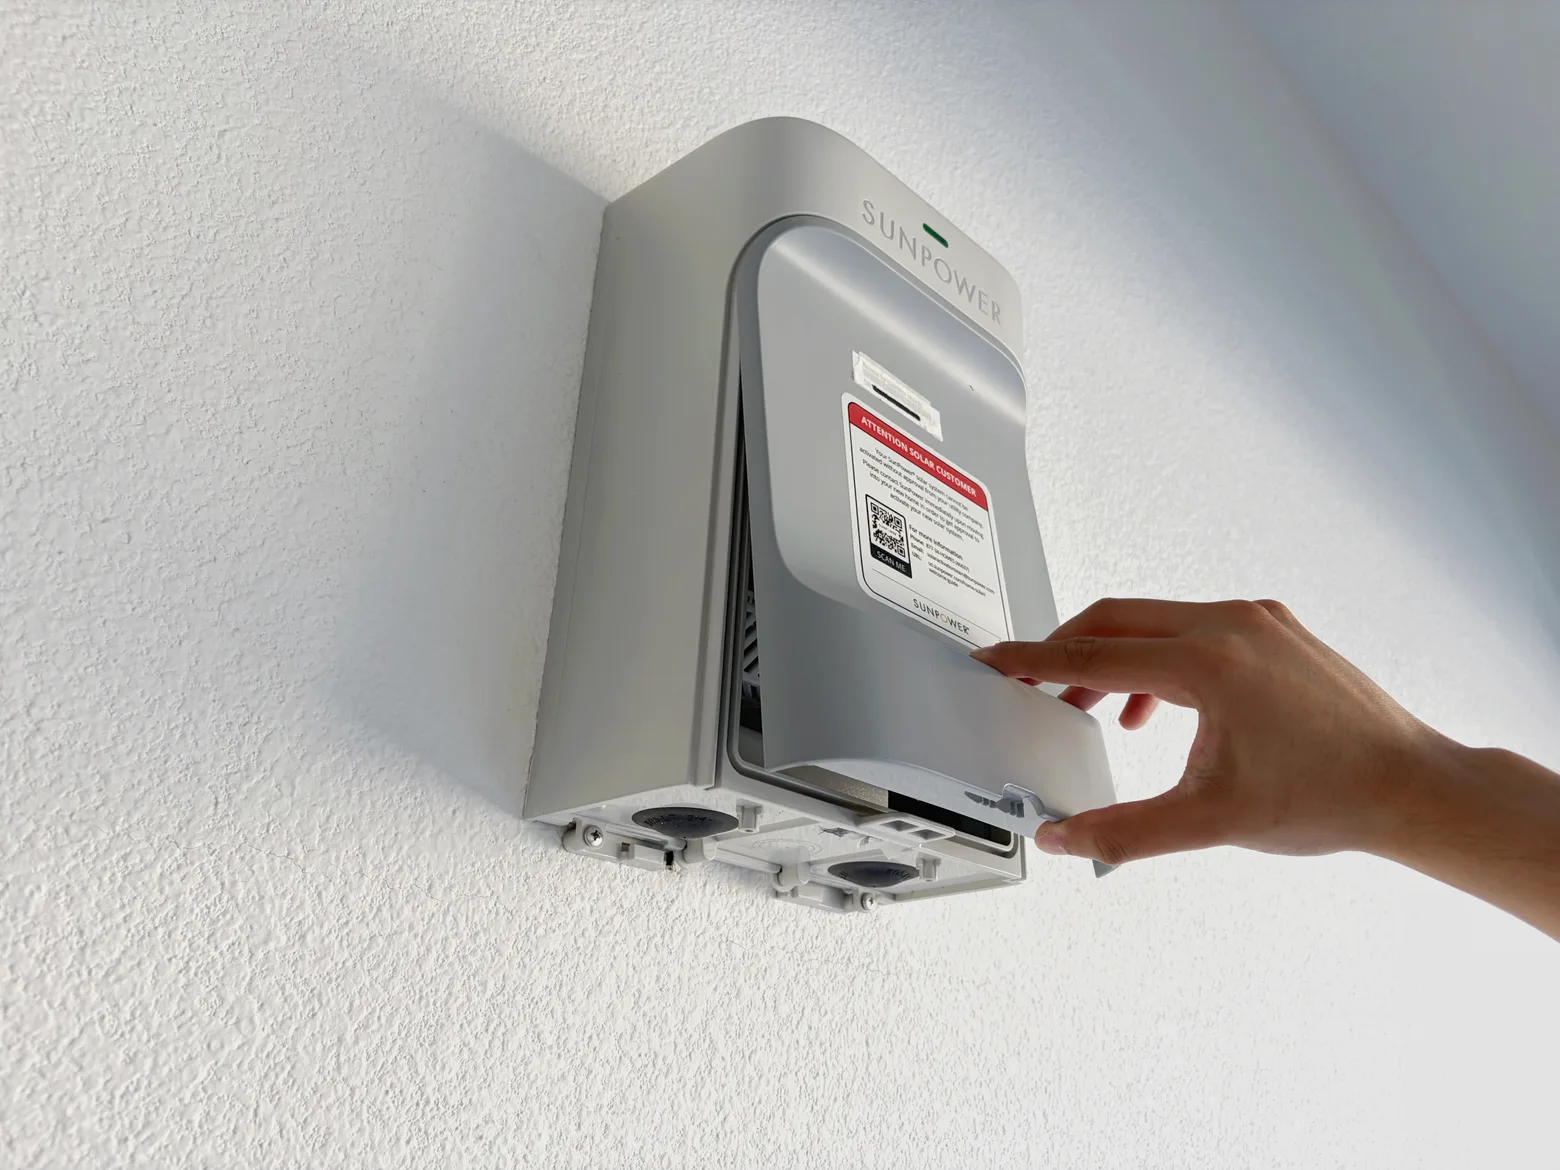
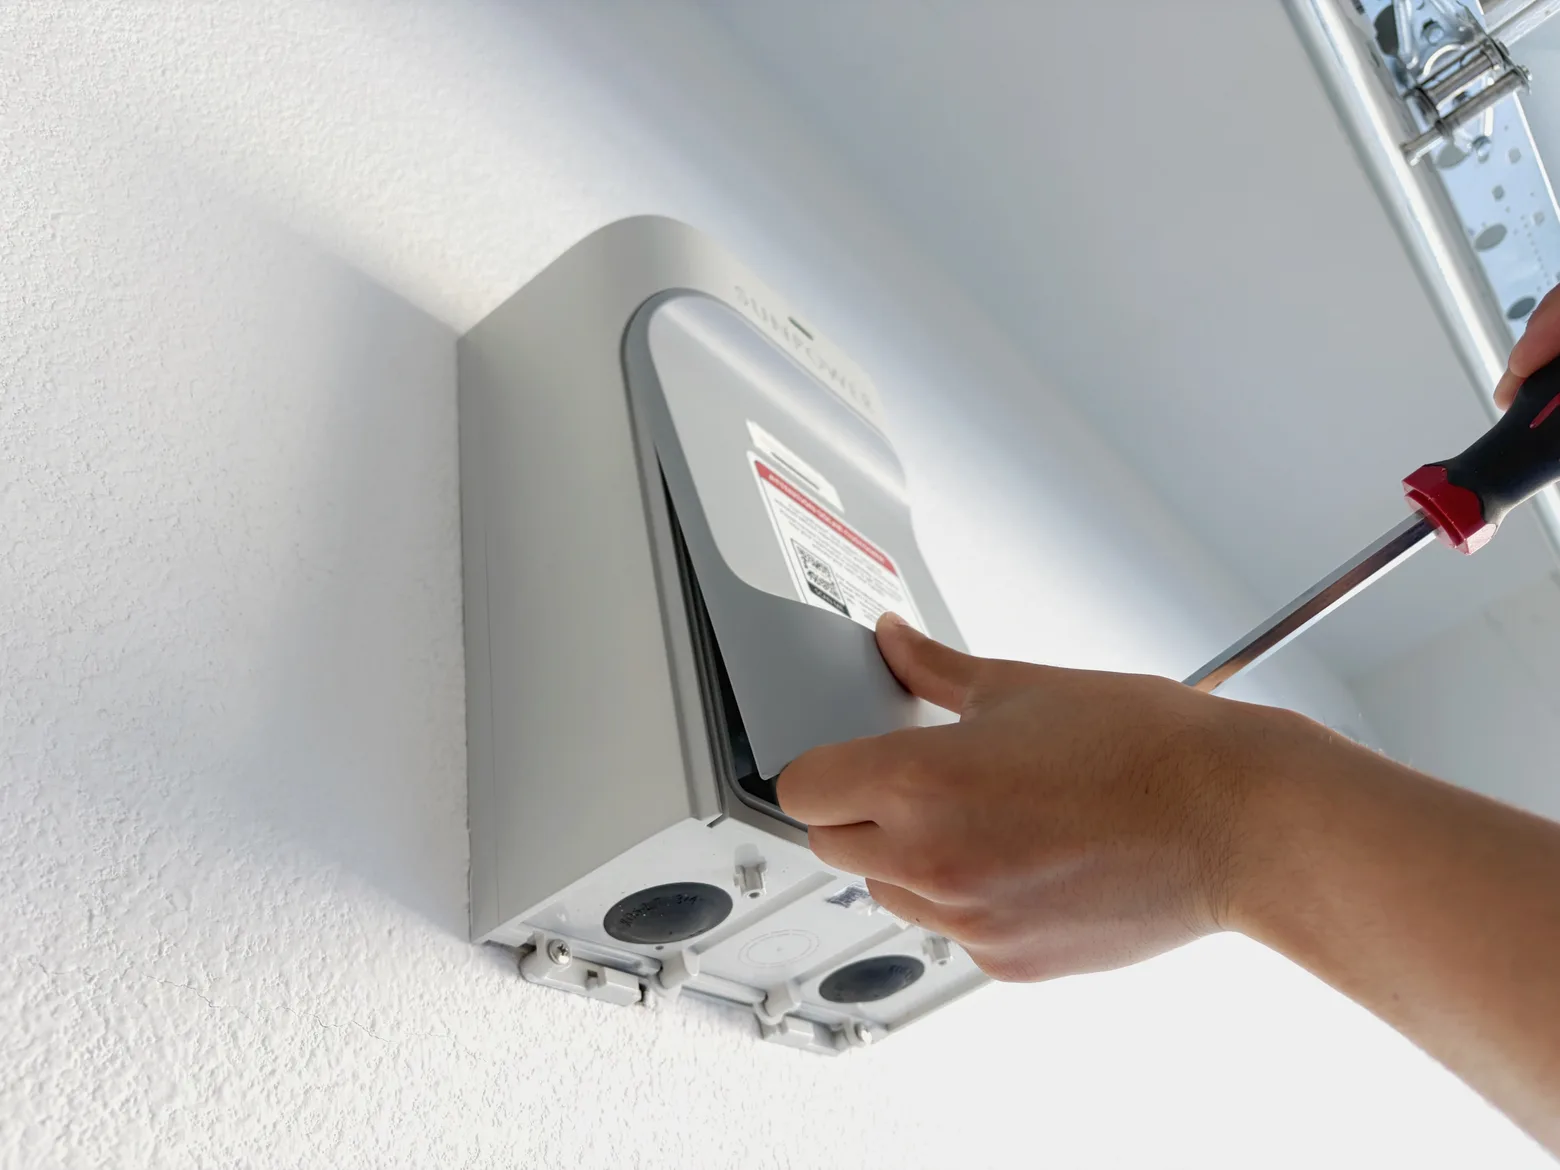
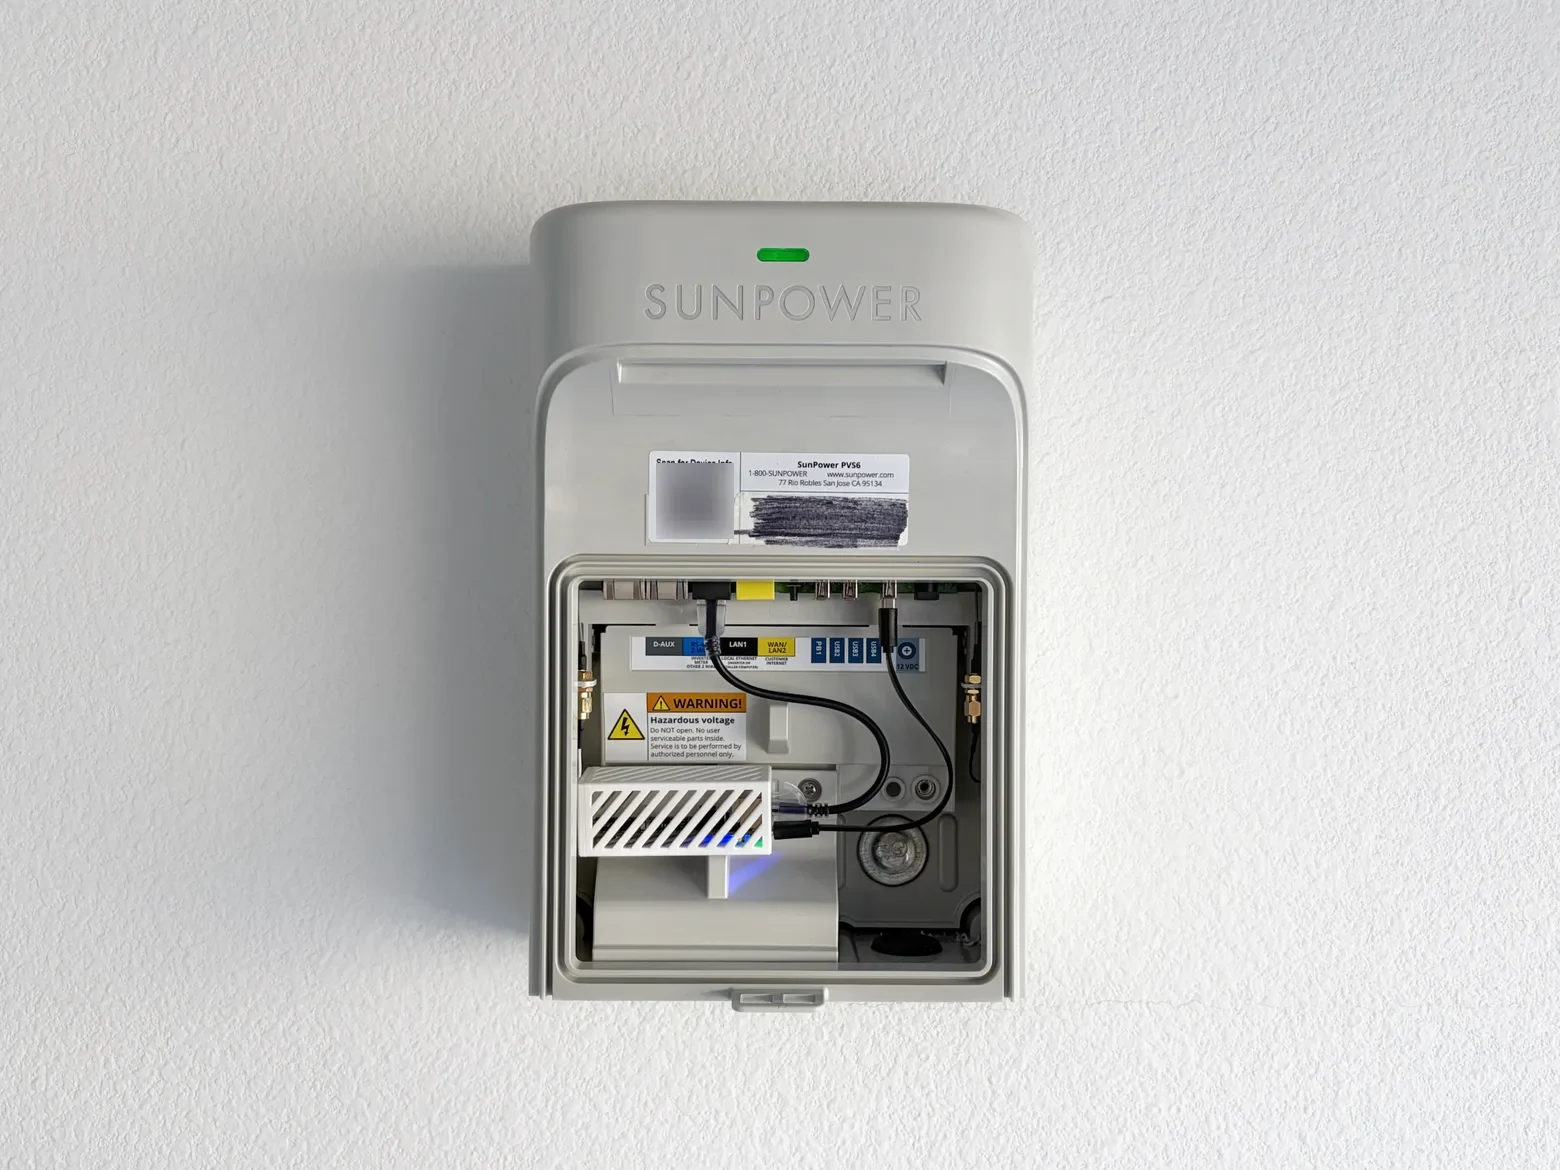
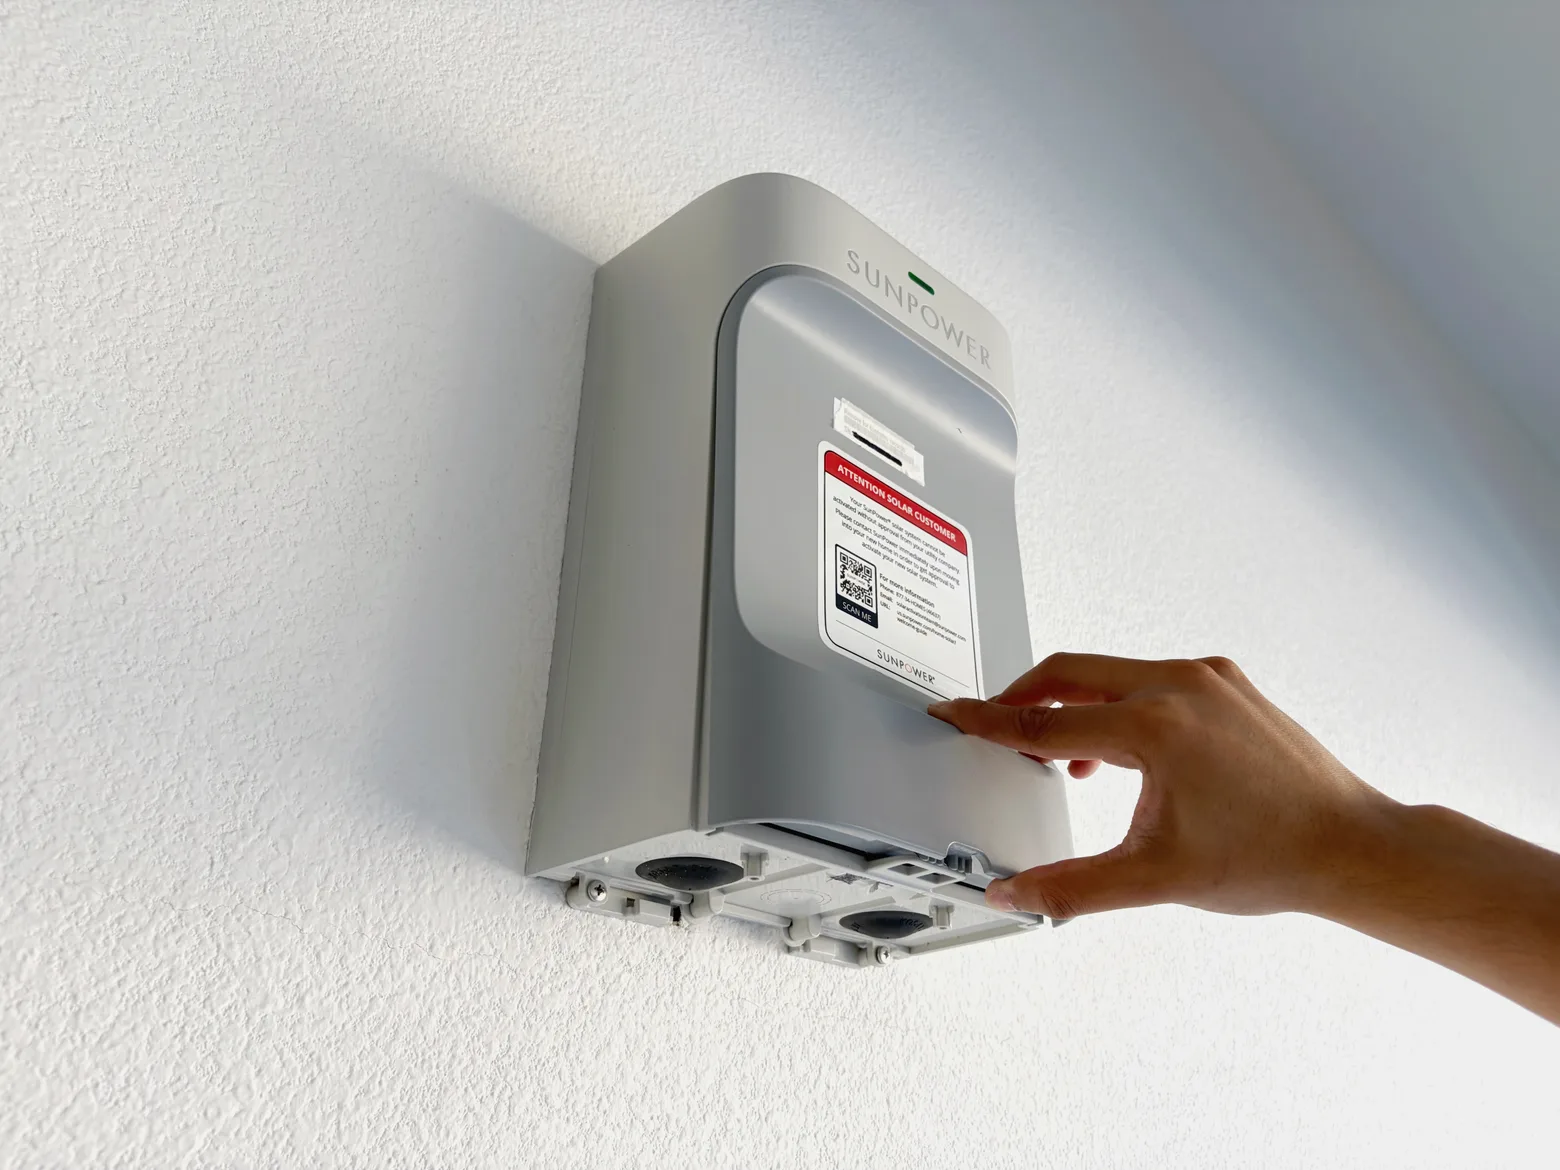
Locate your SunStrong / SunPower PVS gateway. It's usually mounted near your main electrical panel or in the garage. Gently pry outward on the tab at the bottom of the front faceplate and lift the cover off.
Step 02
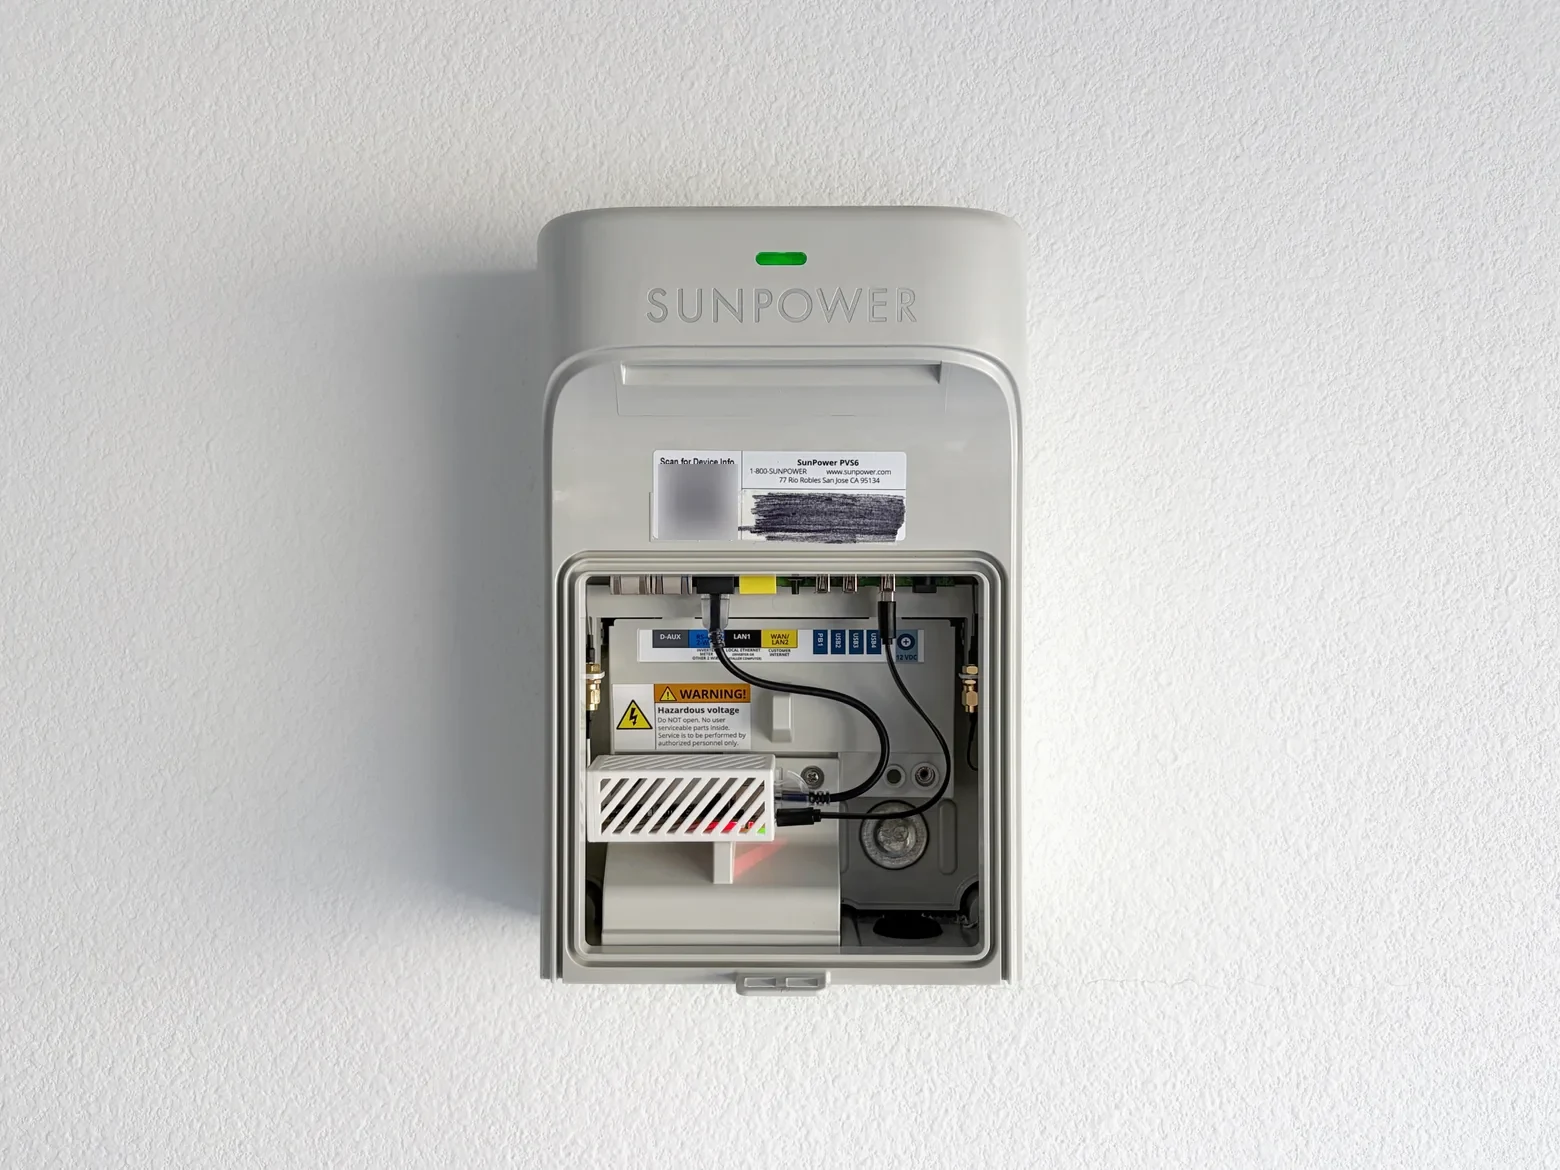
Connect ethernet and power
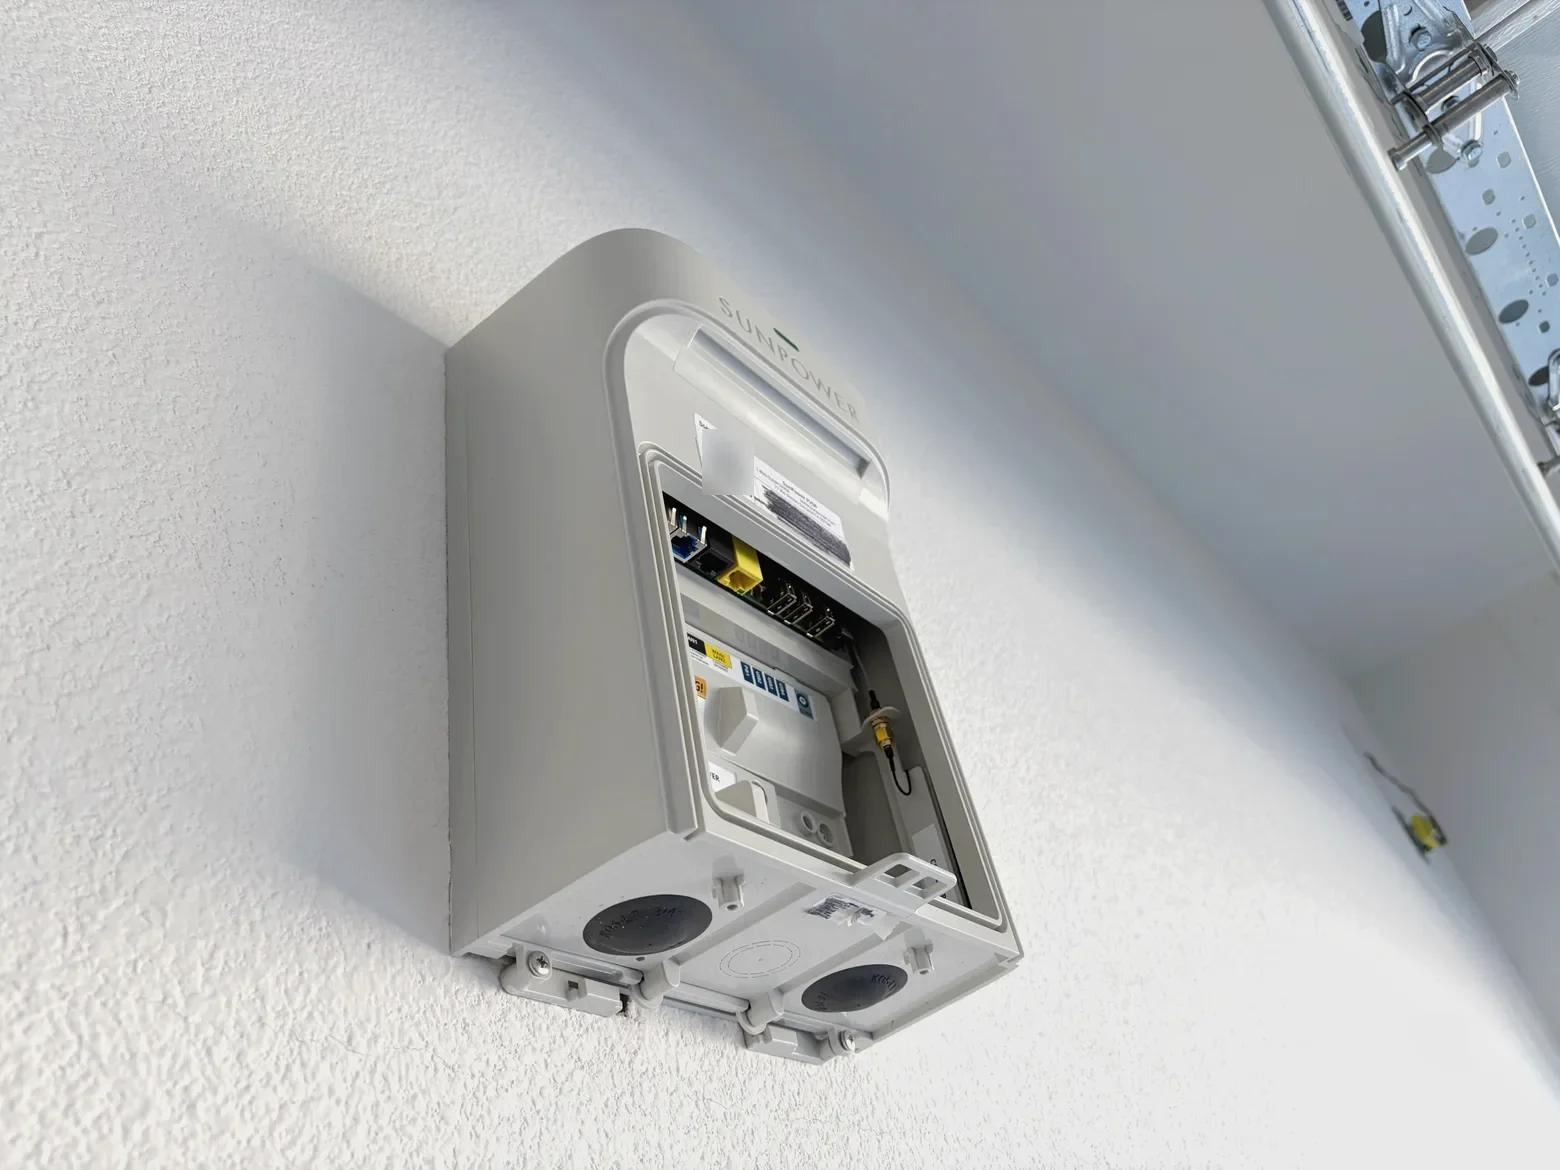
Plug the included ethernet cable into the ethernet port on the Solar Monitor, and connect the other end to the black ethernet port inside the PVS (labeled LAN1 on most units).
Plug the USB-C cable into the Solar Monitor, and plug the USB-A end into an available USB port inside the PVS to draw power.
The status LED will illuminate solid red while the Solar Monitor powers up and prepares for setup.
Step 03
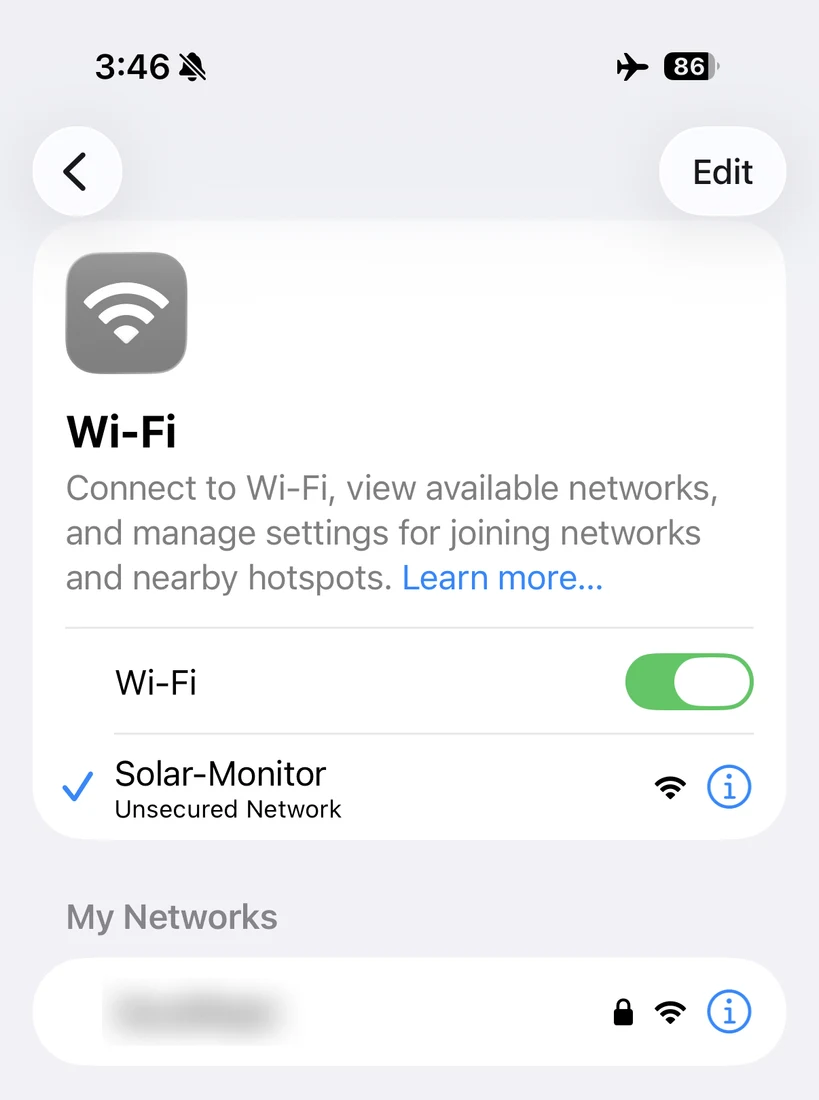
Join the setup network
On your phone, tablet, or laptop, open Wi-Fi settings and connect to a network named Solar-Monitor. No password required.
A captive setup window should open automatically. If it doesn’t appear after a few seconds, open a browser and visit http://192.168.4.1.
Step 04
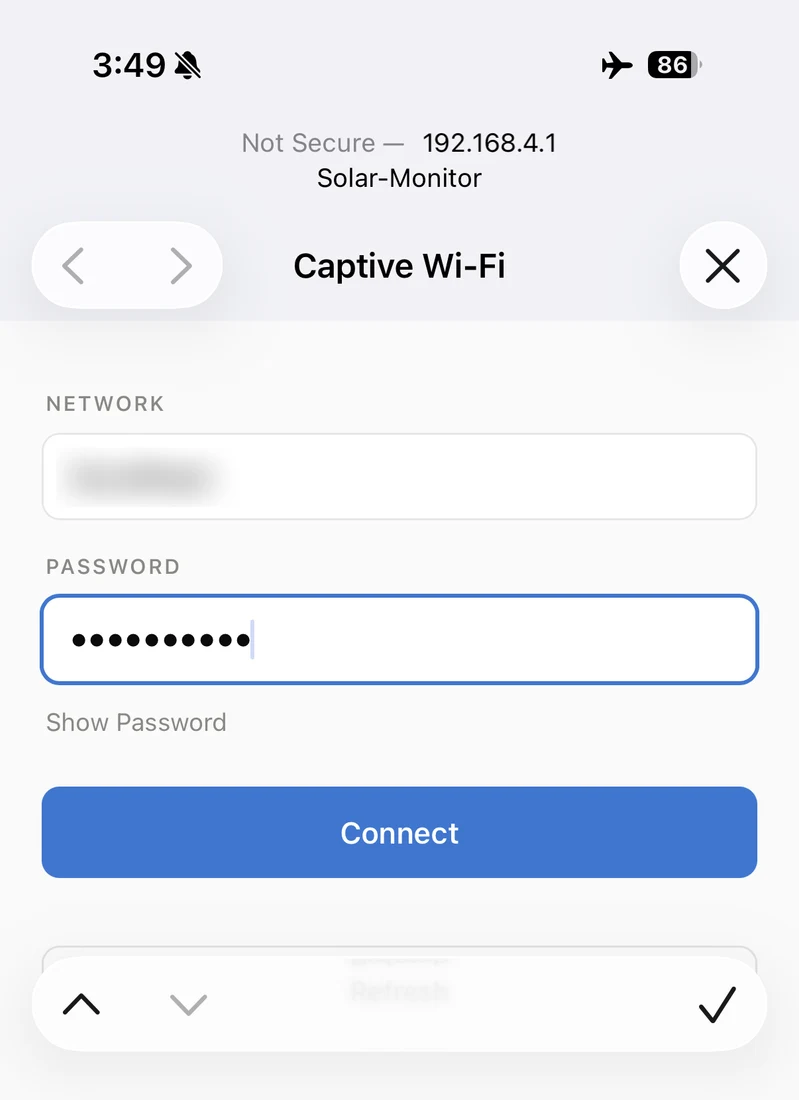
Configure your home Wi-Fi
Select your home Wi-Fi network from the list, enter your Wi-Fi password, and tap Connect.
The monitor will confirm it’s joining your network, close the setup portal, and switch its status LED from red to solid blue once connected.
Step 05
Close the enclosure
Solid blue only means the monitor reached your Wi-Fi — not that it can read your PVS yet. Wait by the enclosure until the light flashes a rainbow for about five seconds. That is a successful gateway read, and the one signal worth waiting for before you close up.
If it settles into a slow blue blink instead, it is on your Wi-Fi but not talking to the gateway. Reseat the ethernet cable at both ends — the blinking stops as soon as a reading lands.
Once you’ve seen the rainbow, the light goes dark between polls, which is normal. Closing up is step 1 in reverse: tuck the cables clear of the faceplate, seat the top edge of the cover into the indent along the top of the PVS, then push the bottom in until the tab clicks into place.
Step 06
Open your dashboard
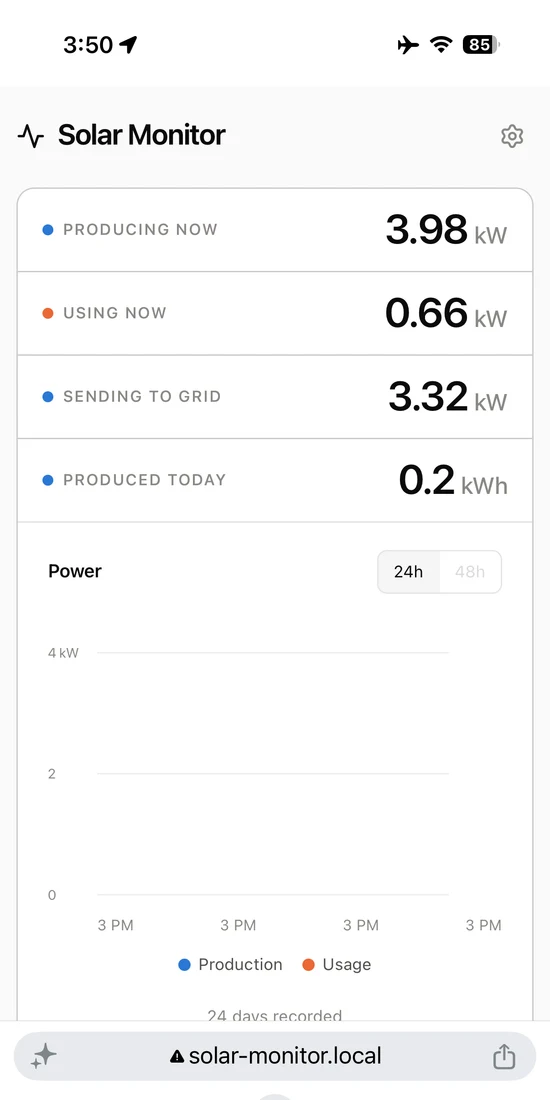
Reconnect your phone or computer to your home Wi-Fi, then visit http://solar-monitor.local. Bookmark this page.
Live generation and grid readings appear within 20–30 seconds. Historical generation fills in progressively over time.
Reference
What the status light means.
The status LED flashes a short rainbow cycle every time it reads your solar gateway — every 20 seconds while the dashboard is open, and every 15 minutes in the background. Between polls it sits dark, which is the normal resting state.
Steady blue confirms Wi-Fi only. A slow blue blink means the monitor is on your network but cannot reach the gateway — check that the ethernet cable is firmly seated in the PVS LAN1 port. The blinking stops as soon as a reading lands.
- Solid red
Starting up or awaiting setup
Connect to the Solar-Monitor Wi-Fi network.
- Solid blue
Connected to home Wi-Fi
Wait for the first rainbow read.
- Blinking blue
On Wi-Fi, but can't reach the PVS
Reseat the ethernet cable at both ends.
- Rainbow
Gateway read successful (~5s)
Nothing — this is what you want to see.
- Off
Idle between readings
Nothing — normal resting state.
Need a hand with setup?
If anything didn’t go as expected or you run into questions while connecting to your gateway, reach out anytime.